AECS Equipment technical support recently assisted in the replacement of a faulty ABS hydraulic control module assembly. Not only is this a technical learning case but also a great opportunity to clarify the correct terminology for each of the three processes. The names are often used indiscriminately when describing the work technicians carry out diagnosing and repairing vehicles and equipment.
The correct processes and terminology are well articulated by all of the scan tools we sell, Jaltest for heavy vehicles and equipment and Launch Auscan and Eurotab series tools in the light and heavy sectors.
In this case, using Launch, the correct terminology can be seen in the control unit sections of the scan tool. Use these sections if you are experienced with the process. To source any supporting instructions for carrying out these processes, use Launch’s guided functions. Guided functions will step you through all necessary procedures to complete the coding and initialisation of all sensors with prompts explaining what is required.
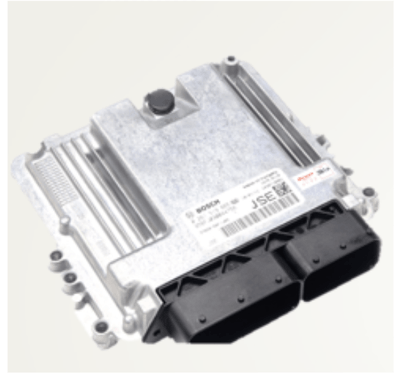
VW Amarok ABS control unit
Here's a real case of coding and initialising, let's step through the process.
1/ In the Launch VW software main menu, select guided functions, then vehicle variables and download files from Launch.
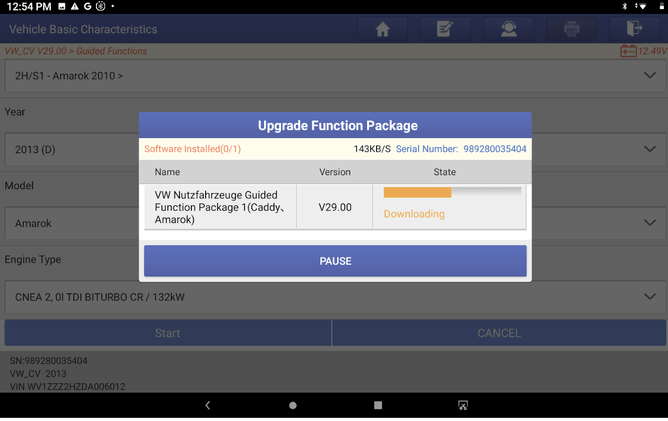
2/ Once the download is complete, select start, and see the menu with all guided functions covered by your tool.
3/ Enter the control module OBD and select control module data
(Make sure you screenshot or photograph this data as accuracy is needed to carry out coding of the new control unit)
Data types:
Long coding sets up the control module to operate correctly in that specific vehicle, informing the control unit of parameters it will operate within and monitor, and is represented as a hexadecimal data string.
System description is the version of the system fitted, the type of ABS system to this vehicle

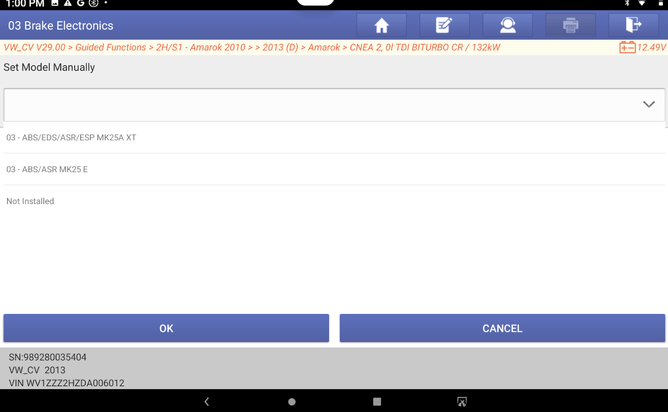
4/ Once you have selected the brake electronics control module, you will need to select the system type. In this case ESP MK25A XT
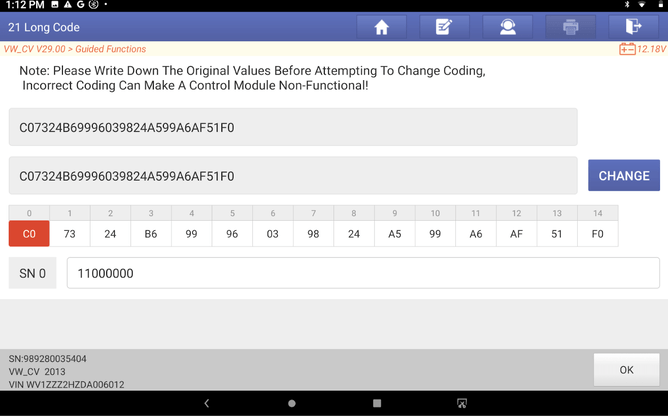
5/ Next Select Long code. Enter the code from the original control unit to the replacement control unit. This is found by going into the control module OBD (top right side of screen) which takes you into the normal diagnostic page for the control module.
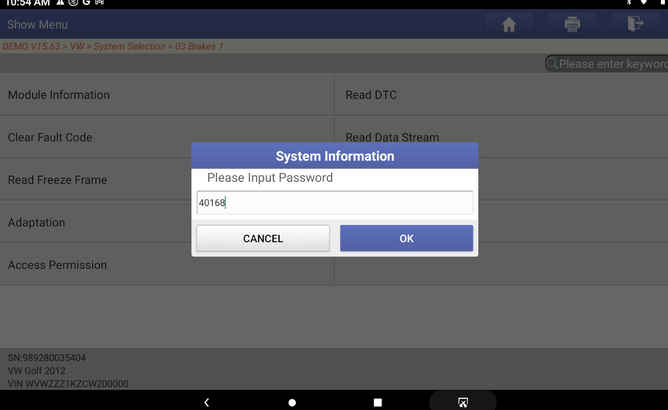
6/ Enter access permission, with access permission activated, you can now modify data.
7/ Enter the security code 40168
8/ Back out of access permission into the long coding step and insert the long code into the module. This is entered on the line next to change, once entered press OK.
Note: Long coding is VW/Audi specific terminology for control unit coding. Other manufacturers refer to this coding string as a software calibration number ( SCN coding ).
9/ Now carry out basic settings on all sensors and calibrate hydraulic valves. A good tip here is to follow the order as they appear on the scan tool screen. The Transverse acceleration sensor- G200, Brake pressure sensor- G201, Longitudinal acceleration sensor-G251 can be set individually or automatically as a set of 3 sensors by scan tool.
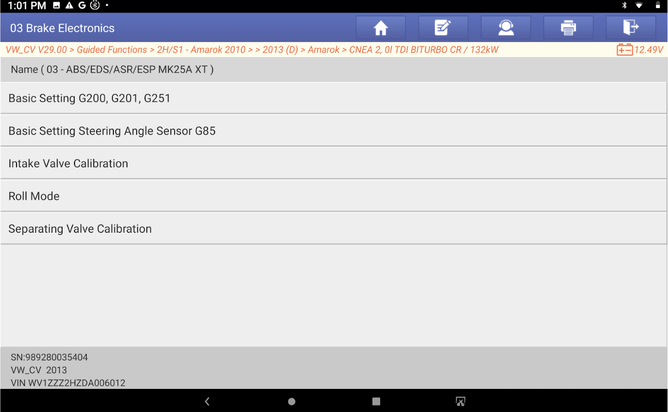
The scan tool lists procedures in order of importance so basic settings for sensors are completed before hydraulic valve calibration/ learning can be successfully carried out

G200, G201 & G251 are adapted in order and as a set by this Launch scan tool
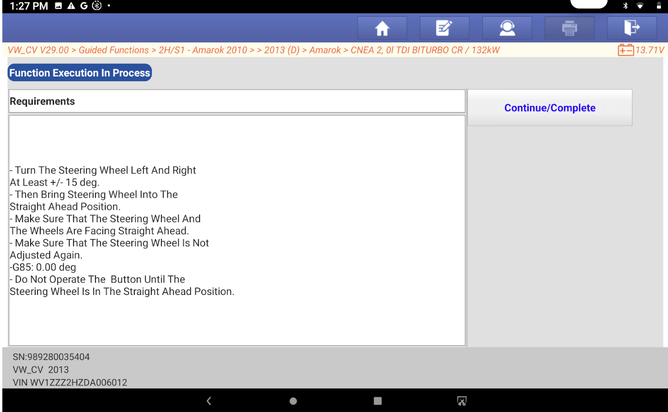
Launch Steering angle sensor calibration instructions
10/ With all the sensors and valves calibrated successfully, any remaining faults can be cleared.
11/ Road test vehicle and operate the ABS to ensure 100% success.
Diagnostic tip: Like all diagnostics, having interruption free time and space is important for efficiency and effectiveness. Be sure to pay attention to all instructions all the way through as something like accidentally pressing the brake pedal momentarily can cause a fail.
So what exactly is the difference between programming, coding and initialisation?
In the VW Amarok ABS control unit case, we coded and initialised sensors and solenoids.
Programming is when a control unit is replaced with a new or blanked used unit. It will have an empty memory and need software installed to operate the hardware. When we programme we install this software. It is often only possible to do this once.
Coding is when we have replaced a control unit, it has software inside it and needs to be told what vehicle variant it now inhabits and with what variants. Coding can often be done many times.
Initialisation is to ensure on board sensors and actuators behavioural characteristics are understood by the operating control unit. No two sensors or actuators are exactly the same and manufacturing tolerances need to be allowed for by the control unit. Initialisation can also be referred to as learning, resetting, calibration, basic setting, adapting or relearning just to add to the list. Initialisation can be carried out as required with no limits.
How do I know which I need to do when replacing a control unit?
In the absence of specific instructions, let the fault codes be your guide...
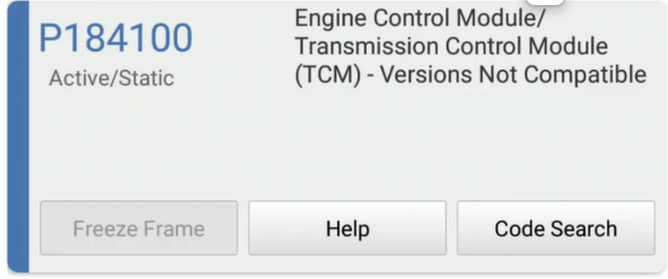
Example of an issue with programming. Try coding first. If coding is not successful, then programming is required. After programming, coding and initialisation of sensors & actuators is required.
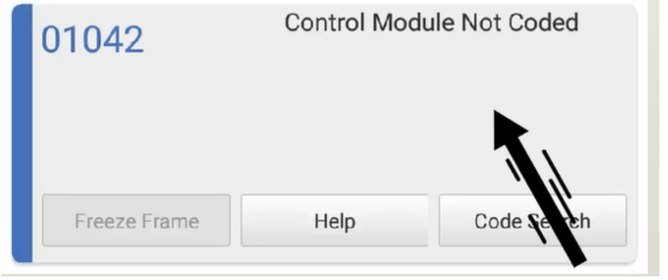
Example of a fault code for a coding issue. After coding, initialisation is required.
Two examples of initialisation fault codes. Also known as basic settings, adaptation or calibration. Perform initialisation as required.

In Summary:
Programming, coding and Initialisation are all different processes and initialisation can also be referred to as learning, resetting, calibration, basic setting, adapting or relearning. Hopefully these examples provide some clarity on the various procedures we carry out as professional technicians. For maximum effectiveness, set yourself up away from your workmates and the phone in a space with no interruptions. Happy programming. Or was that coding?